

THE SELECTION
My wife has always wanted an Olive Tree to remind her of our many wonderful Mediterranean holidays. Having just moved house, it was a “now or never” decision and we chose NOW!
We found a beautiful Olive Tree website called Villaggio Verde and with the help of Ben arranged a visit. It was Olive Tree heaven with hundreds to choose from and once we narrowed it down to “Ancient & Gnarled” farm manager JY escorted us to another farm for final selection. He was very friendly, helpful and gave us some key advice – “If you are putting it the ground build an enclosure otherwise you will lose the height!”.
THE ARRIVAL
It is a kerbside pallet delivery so make sure you have muscle available and access to its destination. We have an arched side path and VV confirmed it could be “wobbled” down the path.
With the help of a couple of people we were able to lean it under the arch to its new home.
TIP
Very important you prepare the ground and get it to where you want it whilst you have help!
THE FOUNDATION
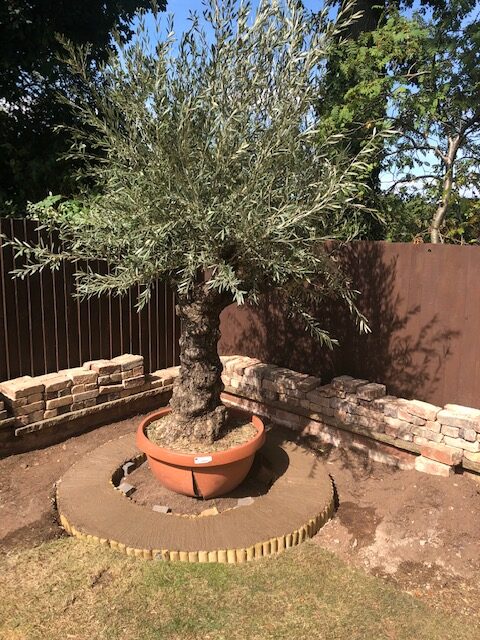
With the pot in place, we created a circular surround using log rolls and cleared an area wide enough to support a double brick wall.
Filled some of the area with cheap ballast and concreted the remainder.
TIP
If you take your time getting levels across and inside to out, you can concrete to the top knowing the wall will more easily build on a level foundation.
THE BASE
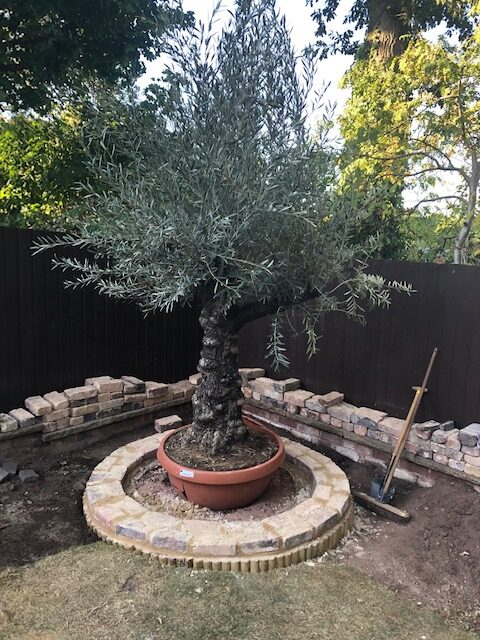
Complete the first layer of bricks taking regular level checks. It is difficult to build without lines but knowing the foundation is level does mean that using the same height of mortar will create a level brick base.
Given the tree is older than us, we decided to use even older reclaim bricks with the added advantage of not having to look perfect. A big bonus as I had never held a trowel in my life!
TIP
Chose to use yellow sand and white cement to give a light-coloured mortar.
THE WALL
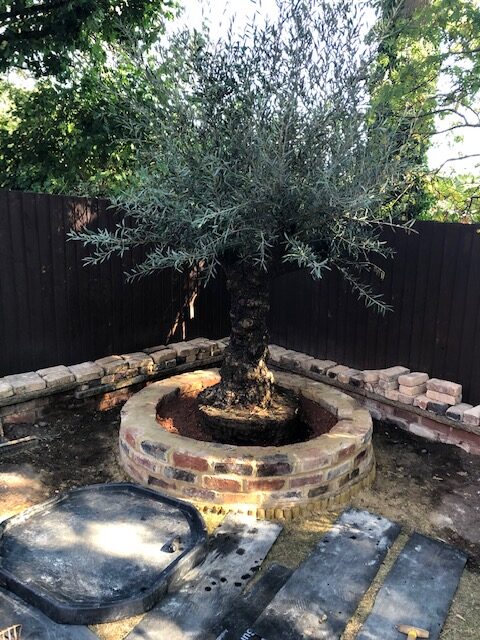
With the first layer dry, time to cut the bottom off the pot whilst you still have access. Also split sides up to halfway.
Fill first layer of enclosure and then build up remaining two layers. This height was just less than the pot, so we would not be losing the base of the tree in soil.
TIP
It’s important that the tree is in place at this point as we are starting to infill route.
THE TOP
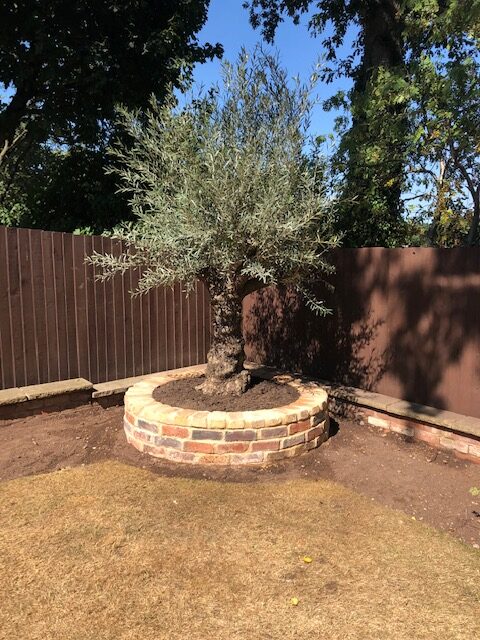
With the pot removed as and the 3 brick layers dry fill in the enclosure with topsoil and stone.
Now lay the final bricks sideways with slight slope into the enclosure. This will direct rainwater inside rather than down the outside of the brickwork.
Once dry complete with topsoil and clean up brickwork.
TIP
As you fill up the layers use up your surplus materials like gravel, ballast, sand, garden soil etc. BUT NOT the cement!!!! It’s quite deep and you don’t just want expensive topsoil.
THE ADOPTION
Olive is now part of our Family Tree and readily accepted by our family and friends. It is older and wiser than all of us and will be thriving in its new home well after we move on. A true legacy bringing its charm and calm into the garden for future generations
Hope you found this helpful as I struggled to find an example online.
Many thanks to Ben and the staff at Villaggio Verde. They have been friendly, helpful and accommodating through this rehoming exercise!
Time for an opening ceremony and a few beers! Hard work but worth it.
OK that is the steps and done by a genuine retired amateur who had never held a trowel.
Best Wishes,
Alan
VV Customer
